 by Anmol Pawate
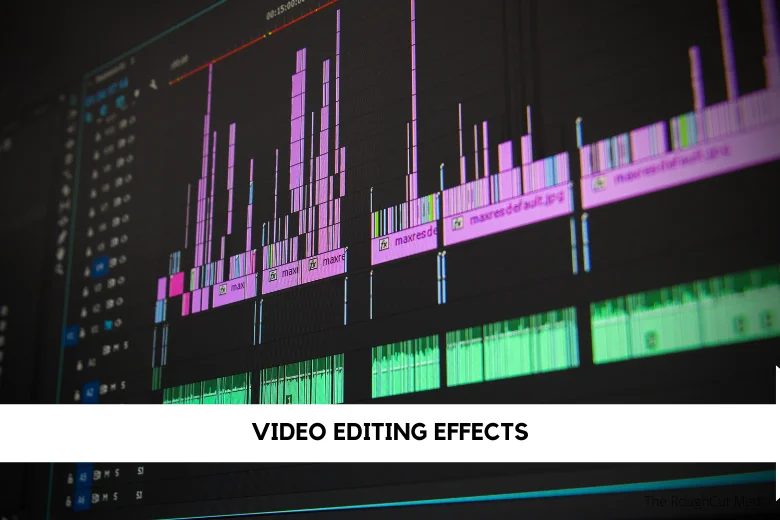
Video creators who are new to the world of professional video creation can dramatically improve the quality of their work by including video editing effects. These special effects are effective tools for beginners, allowing them to add a layer of originality, refinement, and engagement to their videos. Mastering these effects, which range from subtle transitions to eye-catching visual upgrades, may boost storytelling and attract the audience’s attention, making the learning curve an exciting journey of video production.
Christopher Nolan’s blockbuster film “Inception” is a perfect illustration of the significance of video editing effects in professional filmmaking. To create a narrative that blurs the barriers between reality and dreams, the film smoothly mixes mind-bending visual effects and unique editing techniques. The use of effects strategically not only helps the narration but also contributes to the entire immersive experience, demonstrating how mastery of video editing effects can lift a film to cinematic perfection.
TikTok films benefit from a variety of editing techniques, ranging from dynamic transitions to augmented reality overlays. These effects add vibrancy, comedy, and one-of-a-kindness to information, captivating short attention spans. They encourage engagement for an extremely interesting and visually appealing experience.
Categorizing 20 video editing effects into different difficulty levels
| Easy Level | Intermediate Level | Advanced Level |
|---|---|---|
| 1. Cut/Trim Clips | 8. Color Grading | 15. Motion Tracking |
| 2. Basic Transitions | 9. Stabilization | 16. 3D Text Animation |
| 3. Fade In/Out | 10. Speed Ramp | 17. Chroma Keying (Green Screen) |
| 4. Cross Dissolve | 11. Picture-in-Picture | 18. Lens Flare |
| 5. Text Overlays | 12. Audio Mixing | 19. Masking |
| 6. Basic Effects (Blur, Sharpen) | 13. Split Screen | 20. Time Remapping |
| 7. Zoom In/Out | 14. Pan and Zoom |
Use this table as guide to progressively enhance your skills, starting with basic techniques and gradually moving towards more advanced and sophisticated effects.
Cut/Trim Clips
Cut/Trim Clips is a basic video editing effect that removes unwanted chunks of a video clip. It’s like using a pair of virtual scissors to cut off any unwanted bits, resulting in a more concise and polished final video.
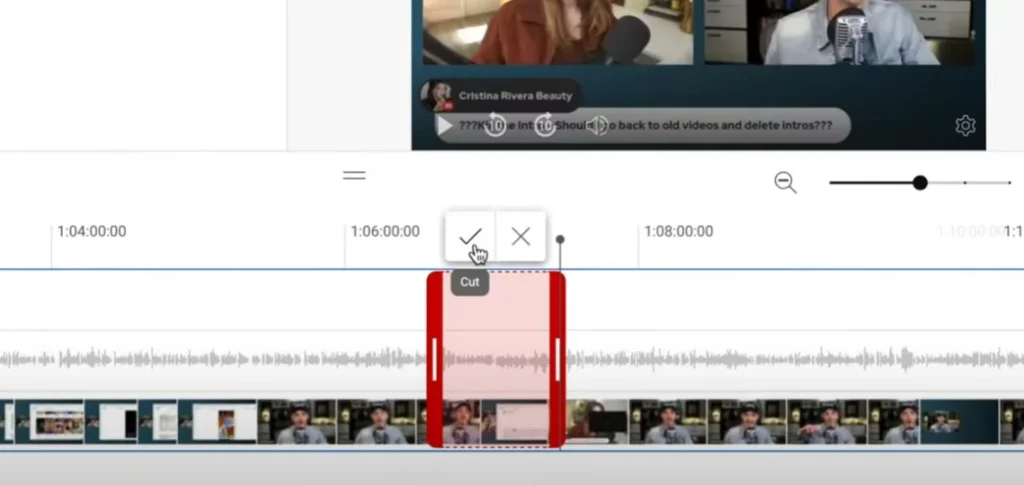
Where to Use It: Cut/Trim Clips is best utilized when you wish to remove unnecessary footage, improve pacing, or make smooth transitions between sequences. It is critical for retaining audience involvement by focusing the information and removing any unrelated or awkward parts.
Real-World Example: Imagine doing a travel vlog in which you capture gorgeous scenery but also spend time setting up the camera or waiting. You may delete these non-essential elements by using Cut/Trim Clips, presenting viewers with a visually appealing and continuous sequence of intriguing moments, resulting in a more engaging and dynamic trip experience.
Also read our comprehensive guide on Video Editing Tips
Basic Transitions
Basic transitions are simple visual effects that join two video clips smoothly. By utilizing techniques such as cuts, fades, or dissolves, these effects prevent abrupt leaps and provide a seamless flow between scenes.
Use It in the Following Situations: In videos, basic transitions are ideal for keeping a smooth and consistent narrative flow. Use them to transition between scenes, show the passage of time, or create a fluid sequence without detracting from the main content. They are effective in a wide range of video genres, from vlogs to short films.
Real-World Example: Consider a travel vlog in which the creator transitions from a hectic city to a peaceful beach. Simple transitions, such as a cut or fade, can be used between these scenes. This subtle effect aids the audience’s shift from urban energy to the tranquil seashore, boosting the entire viewing experience without bringing undue attention to the editing technique.
Fade In/Out
Fade In/Out is the gradual increase (Fade In) or decrease (Fade Out) of video or audio visibility or volume. It offers a smooth transition by gradually changing the brightness or sound at the beginning or finish of a scene.
Where to Use It: Fade In/Out is perfect for quietly introducing or finishing sequences at the beginning or end of a video. It’s typically used for titles, credits, or to transition between shots smoothly, avoiding sudden visual or audio alterations. Refer this guide to understand when to use fade In/Out
Real-World Example: In a nature documentary, a Fade In could be used to gradually unveil a stunning landscape, providing a gentle introduction. A Fade Out, on the other hand, can be used at the end to softly terminate the documentary, leaving a lasting impression without any harsh visual or aural interruptions.
Cross Dissolve
Cross Dissolve is a video transition effect in which one clip gradually fades out while the following clip fades in at the same time. The two clips momentarily overlap during the transition, giving a smooth and flawless blending effect.
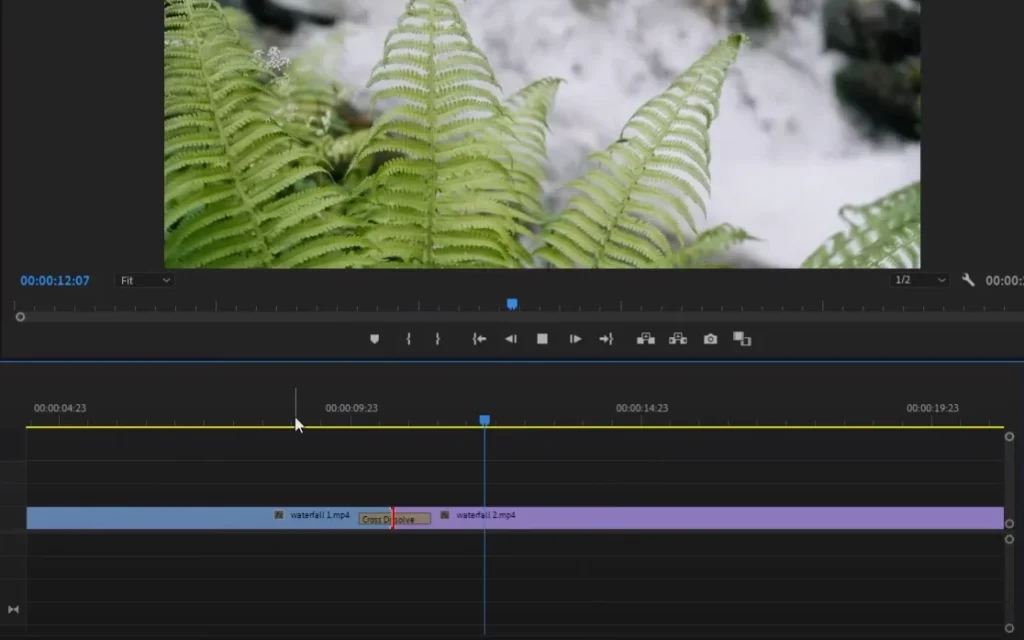
Use It in the Following Situations: Cross Dissolve is most effective when utilized to create a delicate and subtle transition between two scenes or images. It’s great for communicating time, moving locations, or creating a dreamy atmosphere. This effect is widely used in tales, interviews, and other content where a smooth transition is wanted.
Real-World Example: In a romantic short film, a Cross Dissolve can be used to transition from a beautiful moment in a park to a shot of them sharing a meal at a candlelit supper. The slow mixing of the two scenes via the Cross Dissolve adds to the romantic ambiance, giving a seamless connection between the various points in the plot.
Text Overlays
In simple terms, text overlays are the addition of text elements to video footage. Titles, subtitles, commentaries, and other written information can be placed on the video frames. It’s a versatile technique for immediately transmitting information or increasing storytelling within visual content.
Where to Use It: Text overlays are very beneficial when providing context, emphasizing a point, or conveying more information without relying exclusively on spoken words. They are frequently used in tutorial videos, documentaries, and social media material where brief and interesting language improves audience comprehension or engagement.
Real-World Example: In a food preparation tutorial video, text overlays can be used to indicate the name of each ingredient as it is added to the dish, allowing viewers to easily follow along. This not only clarifies the cooking process but also adds visual appeal to the movie, making it more instructive and accessible to a wider audience.
Reference : Great Examples of Text Overlays
Basic Effects (Blur, Sharpen)
Blur and sharpen are video effects that change image clarity. Blurring softens details, giving them a smooth or dreamy appearance, whereas sharpening improves clarity, emphasizing edges and details for a more defined image.
How to Use It:
- Blur:
- Soft Focus: Ideal for creating a romantic or dreamy atmosphere by slightly blurring the entire frame.
- Transitions: Smoothly transition between scenes by adding a subtle blur effect to connect shots seamlessly.
- Sharpen:
- Enhancing Details: Use sharpening to highlight specific elements, such as facial features or intricate objects.
- Correcting Footage: Improve the overall clarity of slightly blurry footage, bringing out important details.
Real-World Example: Consider a wedding film in which the couple exchanges vows. A modest blur effect can be applied to the surroundings to provide a romantic touch, focusing emphasis on the couple. Sharpening, on the other hand, can be used to emphasize the complex intricacies of the rings, making them glitter and heightening the emotional impact of the moment during a close-up view of the wedding bands being given. When employed wisely, these effects contribute to a visually compelling and emotionally resonant video.
Also Read: Must Have Equipment For Video Production
Zoom In/Out
Zoom In/Out is a video editing effect that causes the camera to appear closer (Zoom In) or farther away (Zoom Out) from the subject. It’s done in post-production to create a dynamic visual impact while emphasizing certain elements.
Where to Use It: In the Most Appropriate Situations
Zooming in and out is useful for accentuating key features in a scene or giving a feeling of scale. Zoom in to emphasize expressions or details and create closeness. Zoom Out, on the other hand, is useful for displaying bigger perspectives or elegantly transitioning between scenes.
Real-World Example: Consider a travel vlog in which the creator shows off a gorgeous landscape. A progressive Zoom Out displays the majesty of the view while the narrator praises the magnificence of a mountain range, capturing both the breathtaking details and the huge perspective. Zooming in and out enhances the tale and visually engages the audience.
Color Grading
The technique of modifying and improving the colors in a video to achieve a specific visual style is known as color grading. It entails adjusting the brightness, contrast, saturation, and hue to achieve a consistent and appealing look that complements the mood and tone of the video. Color Grading guide for beginners.
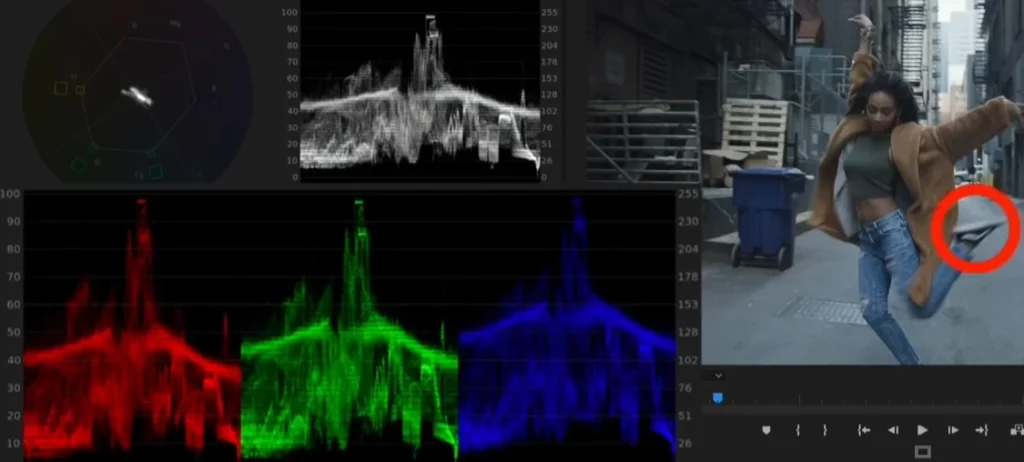
Where to Use It: Color grading is especially effective when the raw material needs to be improved or a specific visual environment is required. It is often used to improve the overall look in cinema, advertisements, and even YouTube videos. Color grading provides for artistic expression and control over the visual narrative, whether the goal is a warm, cinematic feel or a sleek, modern mood.
Real-World Example: Consider filming a travel vlog in several areas. Because of the changing weather or time of day, the raw footage may have inconsistencies in illumination. The editor can harmonize the colors by using color grading, making the blues of the sky more brilliant, the greens of the landscapes richer, and guaranteeing a consistent and visually pleasant look throughout the video. This not only corrects flaws but also adds a cinematic aspect to the viewer’s experience.
Also Read: Color Grading Vs Color Correction
Stabilization
Stabilization is a video editing effect that removes shakiness and undesired motion from a video. It smoothes the footage, giving it a more polished and professional appearance.
Where to Use It: Stabilization is perfect for film with shaky camera movements, whether from handheld photography, motion from a moving vehicle, or any other source of insecurity. It’s frequently utilized in action shots, vlogs, and other circumstances where the camera isn’t absolutely stationary.
Real-World Example: Consider recording a dynamic scene at a bustling market with handheld film. The natural movement and excitement of the atmosphere may cause the video to wobble. The ultimate consequence of using stabilization is a smoother, more pleasurable video because the focus remains on the content rather than annoying camera movements.
Speed Ramp
Speed ramping is a video editing method that includes gradually increasing or decreasing the speed of a movie to produce a progressive acceleration or deceleration effect. It gives a sequence more dynamic energy by allowing some sections to play in slow motion or fast forward fluidly. Refer speed ramp tutorial.
Where to Use It: Speed ramping is very useful when you want to highlight key instances in your video. Use it in action sequences, transitions, or to emphasize critical points in storytelling. It’s a versatile tool for improving your content’s overall flow and visual engagement.
Real-World Example: Consider a skateboarding video in which a skater pulls an outstanding trick. By using speed ramping, the editor may slow down the clip just as the skateboard leaves the ramp, highlighting the trick’s ability and precision. As the skater touches down, the speed returns to real-time, creating a visually dynamic and compelling sequence. This method enhances the viewer’s experience by adding flair and focus to the most engaging parts of the film.
Also Read: 5 key elements of creating a video concept
Picture-in-Picture
Picture-in-Picture (PiP) is a video editing effect that superimposes a tiny video or image over the main video, allowing both to play at the same time. The smaller element appears within a predetermined area, typically a corner, and provides a secondary visual without interfering with the primary content.
Application: Picture-in-Picture (PIP) is perfect for displaying additional content or perspectives without interfering with the primary video flow. Video tutorials featuring a small inset of the teacher, live commentary during gameplay videos, or displaying a speaker alongside presentation slides in instructional content are examples of common applications. It’s an adaptable tool for improving storytelling and engagement.
Real-World Example: In a cooking tutorial film, for example, the chef can use Picture-in-Picture to show their face while demonstrating cooking processes. Viewers can connect with the chef on a more intimate level by witnessing reactions and expressions while still following the step-by-step cooking process in the main frame. The Picture-in-Picture effect gives the video a dynamic element, making it more interesting and instructive.
Audio Mixing
The technique of altering and combining various audio tracks to achieve a balanced and harmonious sound is known as audio mixing. It includes altering the volume, panning, and equalization of separate elements in order to achieve an enjoyable and appealing audio experience.
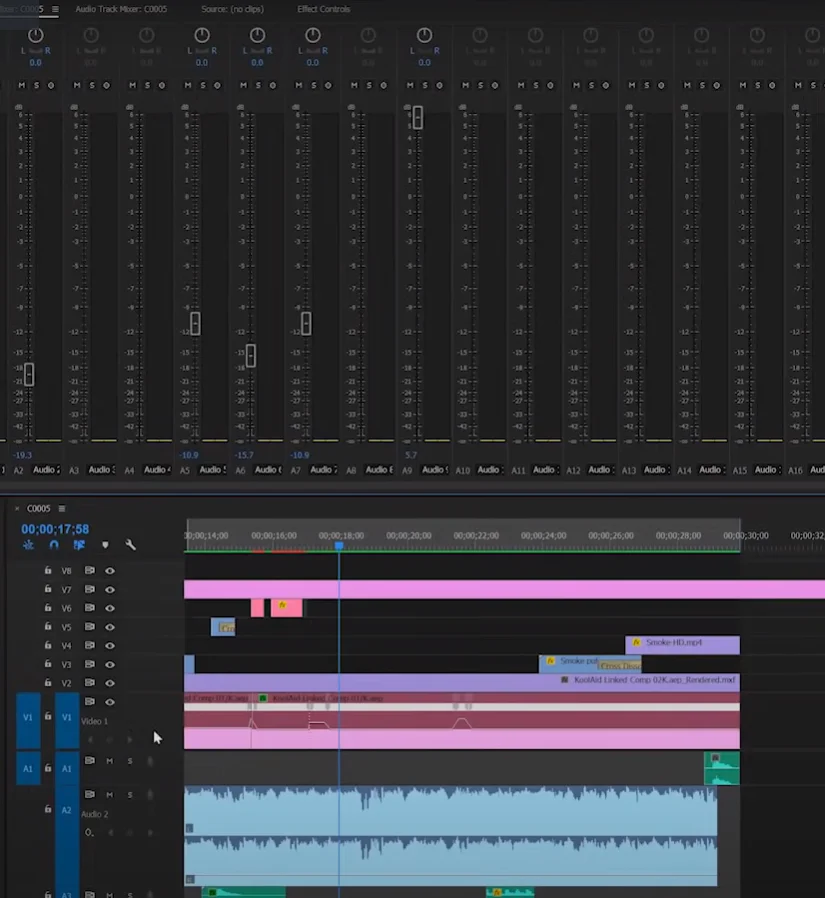
Where to Use It: Audio mixing is useful in a variety of situations, including video creation, music recording, and podcasting. It is used when several audio sources, such as conversation, background music, and sound effects, must be flawlessly blended for a polished and professional final product. Refer this guide to learn audio mixing in premier pro.
Real-World Example: Consider a brief film scene in which characters converse as ambient music establishes the mood. The role of audio mixing is to ensure that the conversation remains clear and intelligible, that the music compliments the scene without overpowering the voices, and that any additional sound effects enrich the overall ambiance. In this circumstance, a well-mixed audio track leads to a more immersive and enjoyable watching experience.
Read About – Sound Mixing Effects
Split Screen
Split Screen is a video editing effect that divides the screen into two or more portions, each displaying a different piece of content at the same time. It’s as if numerous scenes are playing simultaneously, providing a dynamic approach to exhibit different perspectives inside the same frame.
Where to Use It: Split Screen is especially useful when comparing or contrasting two distinct elements in your film. It’s widely employed in storytelling to portray parallel activities, reactions, or distinct locations at the same time. This effect is excellent for increasing visual interest and expressing multiple aspects of a tale without the need of consecutive images.
Real-World Example: Consider a travel vlog in which the creator wishes to display both the stunning environment and their reactions to it. The split-screen effect allows the spectator to see the scenic landscape on one side while experiencing the vlogger’s honest expressions on the other. This technique enables a more immersive storytelling experience by capturing both the beauty of the site and the traveler’s personal connection in a single picture.
Pan and Zoom
Pan and Zoom, sometimes known as the Ken Burns effect, involves navigating the camera smoothly across a scene (panning) or altering the scale of the clip (zooming). This effect gives static images or movies more dynamic and visual intrigue.
Where to Use It: Pan and Zoom is especially useful when working with still photographs or settings where a static shot may lack engagement. It’s frequently utilized in documentaries, photo slideshows, and narrative storytelling to bring images to life and keep viewers interested. This effect is also useful for emphasizing individual elements or generating a sense of movement in a static composition.
Real-World Example: Consider the following real-world example: a trip video presenting a beautiful location. Rather than showing a static image of a mountain range, the editor uses the Pan and Zoom effect to pan across the peaks, creating a cinematic sweep that puts the viewer in the stunning surroundings. The viewer’s relationship with the surroundings is strengthened by this dynamic movement, making the visual experience more engaging and memorable.
Motion Tracking
Motion tracking is a video editing effect that tracks the movement of an object or a point within a video frame. This enables the effortless addition of objects, effects, or text that remain connected to the tracked object while maintaining a consistent location even when it moves.
Where to Use It : Motion tracking is very handy when you want to tie an effect, text, or image to a moving item in a movie. Adding dynamic subtitles to a person or item, boosting visual effects in action situations, or even stabilizing footage by monitoring a single location for smoother transitions are all common applications.
Real-World Example: Consider a sports highlight video in which a graphic overlay follows the trajectory of a moving soccer ball. Using motion tracking, the graphic follows the ball as it moves across the field, providing the viewer with added information and engagement. This technique adds a clean and consistent visual presentation while highlighting the thrill of the moment.
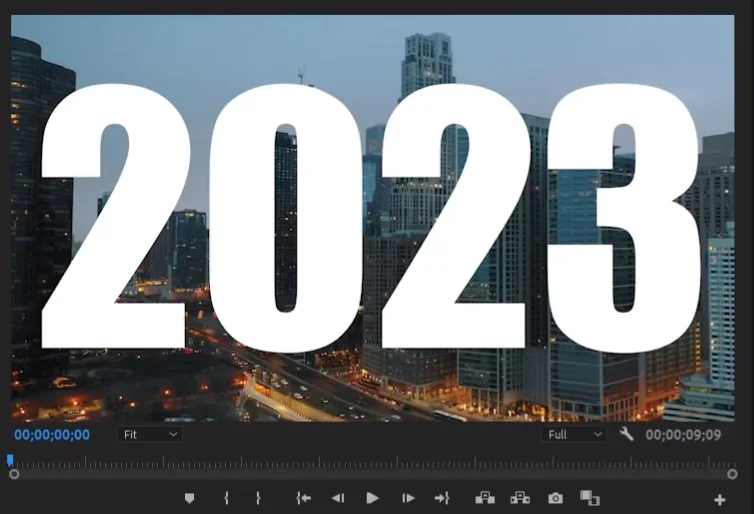
3D Text Animation
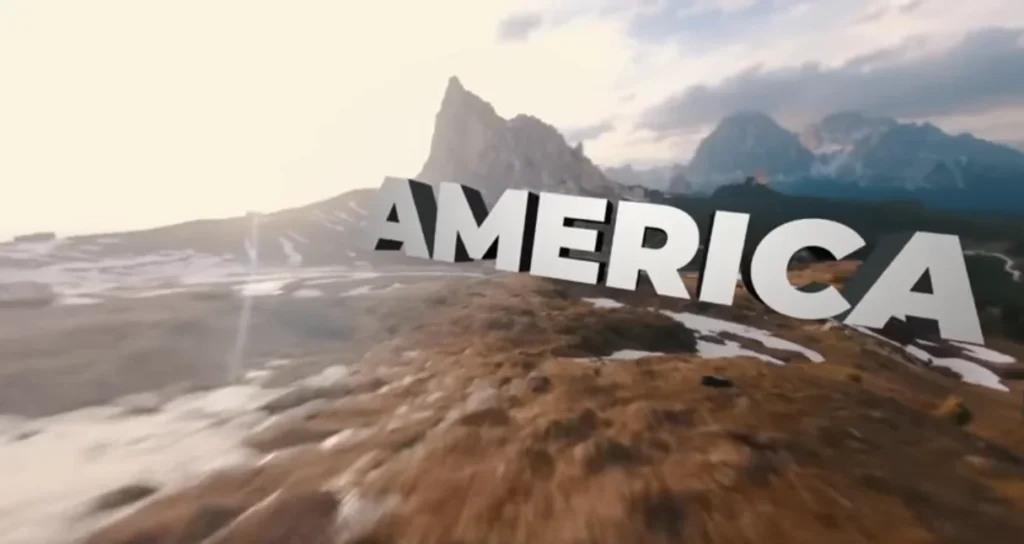
Source: Motion Nation – YouTube
The process of adding dynamic movement and depth to text elements in a video is referred to as 3D Text Animation. It goes beyond flat, static text by allowing letters and words to move, spin, or even appear three-dimensionally, thereby increasing visual engagement.
Where to Use It: 3D Text Animation is best used when you want to draw the attention of viewers with visually appealing and dynamic text. It’s perfect for title sequences, intros, or any other area of the video where you want the text to stand out. It can be used to communicate enthusiasm, modernity, or to compliment a creative concept.
Real-World Example: Consider a promotional video for a technological product. When the film starts, stylish 3D animated typography appears, dynamically revealing the product’s essential qualities with enticing movements. The text rotates, spins, and hovers, producing an engaging introduction that both informs and visually captivates the viewer, making the information more memorable.
Chroma Keying (Green Screen)

Chroma Keying, sometimes known as “Green Screen,” is a video editing method that replaces a specific color (typically green) with another image or video. This enables the editor to remove a subject or object from its context and effortlessly merge it into another.
Where to Use It: When constructing a combined photo, chroma keying is best employed to place your subject in a distinct location or background. It is frequently used in film and television production for situations requiring imaginative or remote locales. It’s also widely used in content development for virtual backgrounds, special effects, and creative visual storytelling.
Real-World Example: Consider a weather reporter standing in front of a green screen during a live broadcast. The green background is changed with a dynamic weather map utilizing Chroma Keying, giving the impression that the presenter is engaging with the map directly. This technique provides viewers with a polished and compelling visual display, boosting the overall viewing experience.
Lens Flare
Lens flare is a visual artifact caused by light entering the camera lens directly or reflecting off the lens elements, resulting in bright, frequently colorful streaks or spots in the image. It’s a cinematic effect that gives video footage a sense of realism or artistic flair.

Where to Use It: Lens flare works best in scenarios with bright, natural light sources, such as sunshine or artificial lighting. It can improve the mood and ambiance, particularly in outdoor photographs taken at sunrise or sunset. Furthermore, it is frequently used for dreamy or nostalgic scenes, giving videos a pleasant and enveloping vibe.
Real-World Example: Consider a romantic moment in a film in which the protagonists have a meaningful talk as the sun sets. The picture is given a delicate, ethereal glow by intentionally integrating lens flare into the shot as the sunlight grazes the camera lens. This effect not only amplifies the emotional impact but also adds a cinematic touch, making the occasion visually captivating and memorable. learn how to do lens flare in premier pro 2023
Masking
Masking is similar to using a stencil in video editing in that it allows you to control where an effect or change shows on your movie. Specific portions can be revealed or hidden, resulting in dynamic visual effects.
Where to Use It: Masking is very useful when you wish to focus on or edit a specific area inside a video clip. It’s ideal for separating objects, changing backgrounds, and selectively adding effects. Masking can be used to accentuate a topic while blurring the surrounding.
Real-World Example: Consider a travel vlog in which the creator wishes to highlight a landmark in a busy city. They can retain the landmark in crisp focus while blurring the surrounding throng by using masking. This pulls the viewer’s attention to the main subject, making the video visually appealing and interesting.
Time Remapping
Time Remapping is a video editing effect that lets you modify the speed of your movie while also producing dynamic changes in the timeline. It allows you to speed up, slow down, or even freeze specific parts in your movie, giving it a distinct and dramatic sense.
Where to Use It: Time Remapping is excellent for capturing dramatic or emotional moments in a video. It can be used to accentuate action sequences, create suspense, or emphasize significant events. Slow motion emphasizes details, but fast motion creates a sense of urgency. It’s an effective tool for improving narrative and captivating audiences.
Real-World Example: Consider a sports highlight tape in which a basketball player slams dunks. You can emphasize the player’s talent and the intensity of the move by slowing down the exact moment of the dunk with Time Remapping. This effect not only adds visual interest, but also helps viewers to savor key moments, resulting in a more impactful and memorable viewing experience.
Check out Video Production Services for all your video creation and editing needs.
Get Started With Our
Video Production Company in Pune